 I don't know of a single soul who doesn't swoon over creme brulee, do you? I was really happy that Mari of Mevrouw Cupcake selected this FABULOUS dessert for this week's Tuesdays With Dorie. To elaborate further, let me say that I was happy...my DH was really over-the-moon happy about this week's selection. You see, creme brulee is one of his all time favorite desserts, and he made sure that I didn't slack off this week.
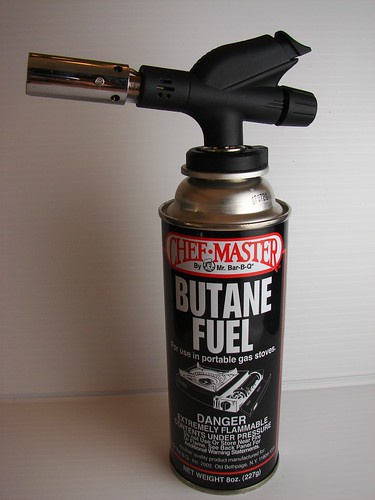
For those of you who are debating the purchase of a kitchen torch, I would absolutely recommend it. I purchased this torch apparatus and canned butane at Surfas a couple years ago (cost of the torch attachment ~$20, butane ~$3). Honestly, I've never regretted this purchase, as I've definitely put this tool to good use. The torch attachment easily screws on the butane can, and this apparatus delivers a pretty powerful flame:
 Anyways, I digress...back to the creme brulee. The literal translation of this is "burnt cream", and creme brulee is essentially a flavored custard topped with a hard caramel.
You can infuse a variety of flavors to the custard (vanilla, chocolate, coffee, chai ---just to name a few). Vanilla is my favorite flavor for this dessert. I prefer using vanilla beans in recipes that call for its flavor to come center stage, so I made one adjustment to the ingredients, omitting the vanilla extract and instead adding the beans and scraped pods of two vanilla beans to the heated cream. I covered the pot and let the cream and vanilla steep for 1 hour before continuing with the recipe.
Dorie Greenspan's technique is a bit different that what I'm used to doing in the following ways:
- baking at a low temperature (200F) for a longer time period (~ 1 hour). I bake at a temperature of 300F and a baking period of 20-25 minutes.
- no water bath --- you place the ramekins straight on a baking sheet. I typically use a water bath or place a well soaked towel underneath the ramekins before they go in the oven.
I was definitely interested in trying Dorie's technique, so I followed her approach. I found that this technique resulted with a really silky smooth and surprisingly light custard. I did find that my custards took longer to set (1 hr 15 min), but I used larger ramekins (only used 4 ramekins) which may be the explanation.
The torch attachment easily screws on the butane can, and this apparatus delivers a pretty powerful flame: Anyways, I digress...back to the creme brulee. The literal translation of this is "burnt cream", and creme brulee is essentially a flavored custard topped with a hard caramel.You can infuse a variety of flavors to the custard (vanilla, chocolate, coffee, chai ---just to name a few). Vanilla is my favorite flavor for this dessert. I prefer using vanilla beans in recipes that call for its flavor to come center stage, so I made one adjustment to the ingredients, omitting the vanilla extract and instead adding the beans and scraped pods of two vanilla beans to the heated cream. I covered the pot and let the cream and vanilla steep for 1 hour before continuing with the recipe.
Dorie Greenspan's technique is a bit different that what I'm used to doing in the following ways:
- baking at a low temperature (200F) for a longer time period (~ 1 hour). I bake at a temperature of 300F and a baking period of 20-25 minutes.
- no water bath --- you place the ramekins straight on a baking sheet. I typically use a water bath or place a well soaked towel underneath the ramekins before they go in the oven.
I was definitely interested in trying Dorie's technique, so I followed her approach. I found that this technique resulted with a really silky smooth and surprisingly light custard. I did find that my custards took longer to set (1 hr 15 min), but I used larger ramekins (only used 4 ramekins) which may be the explanation.
Overall, I was really pleased with the results! Although this requires a longer baking time, I'm definitely going to adopt this technique going forward...Thank you Dorie!!!
The perfect accompaniment to creme brulee - assorted berries (blackberries and raspberries pictured here):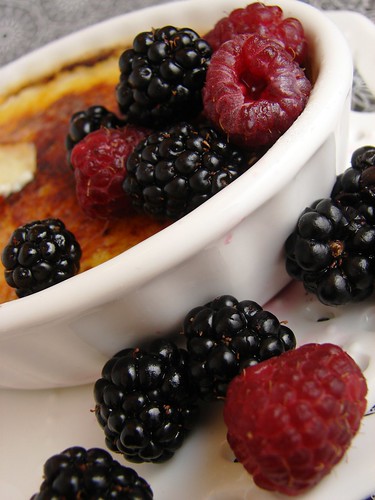
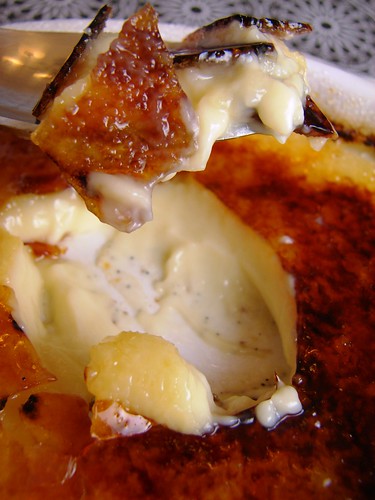
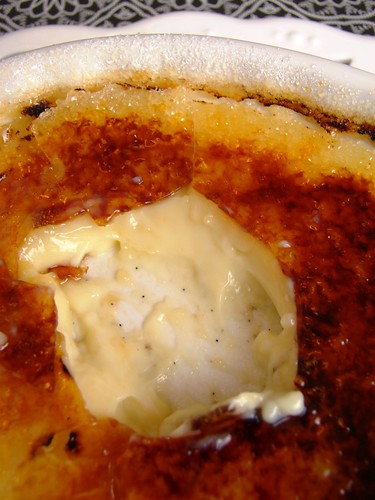
The combination of crunchy and creamy is heavenly! Here, you can see the vanilla beans distributed throughout the custard:
 What a gratifying recipe selection this week...Thank you Mari! If you'd like the recipe, you can find it at Mari's lovely site. To see how all my fellow TWD bakers fared check out the blogroll.
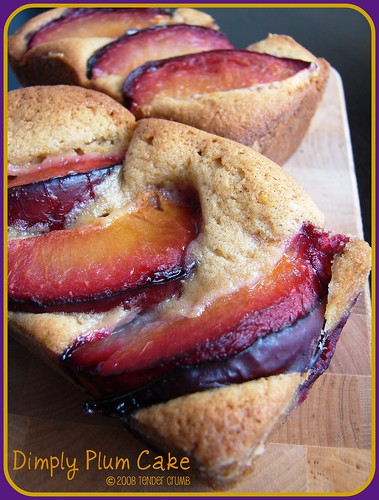
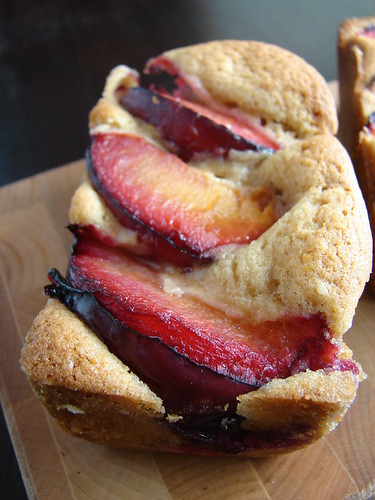
 I love this cake, as the fruit on top tells you exactly what you're eating:
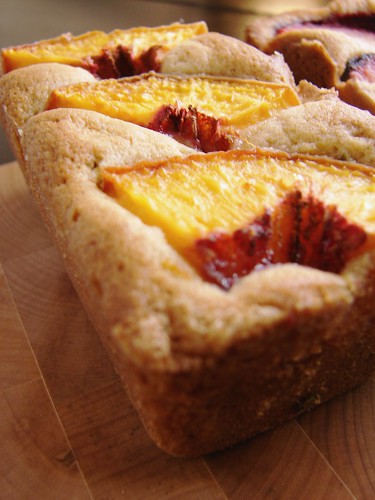

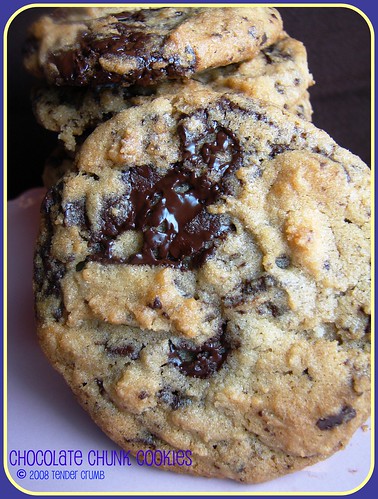


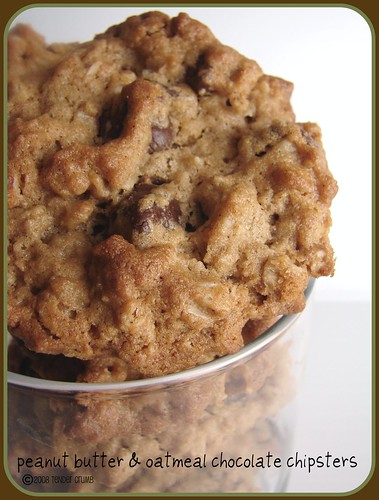
 The cookie onslaught continues! This week's
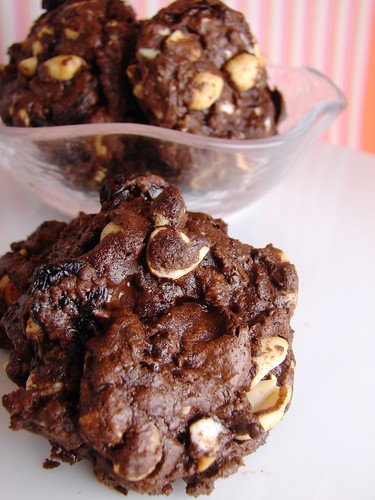
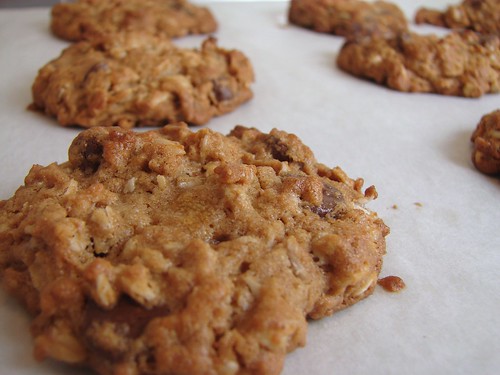
 As I combined the ingredients, it was apparent to me that this was a bowl of chocolate, dried fruit and nuts with barely enough brownie-like dough to bind the ingredients together. The just mixed dough was a little moist and sticky, so I thought a little refrigeration would help it. Instead, I ended up with petrified cookie dough:
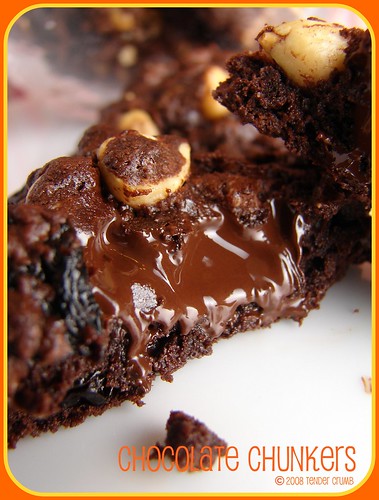
 Okay, okay...these look a little homely. It's the taste that matters, right? These cookies went with my DH to his work, and I was told that these were snatched up in a split second by his co-workers. He said that the cookies received rave reviews and he also agreed that they were intensely chocolatey and delicious.
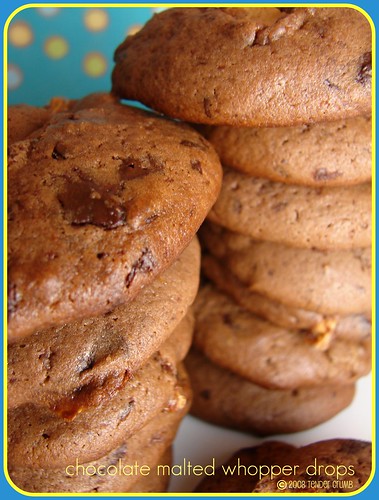
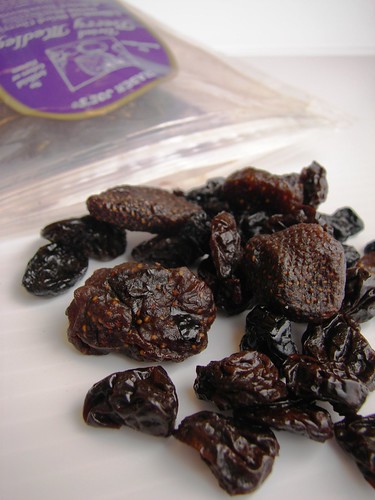
 I was debating on what to do with recipe this time around, and lo and behold, look at what I encountered during my grocery run at Trader Joes:
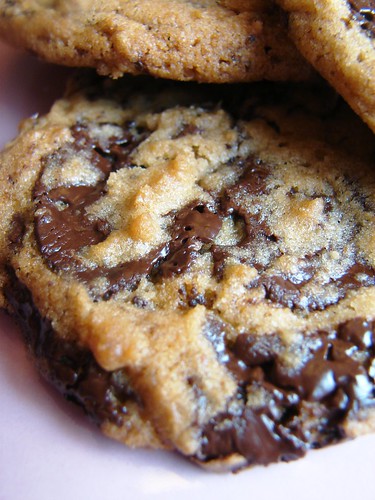
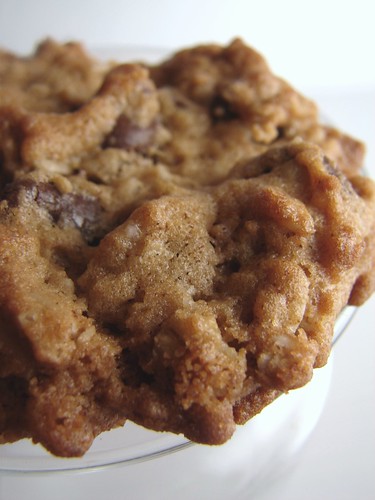
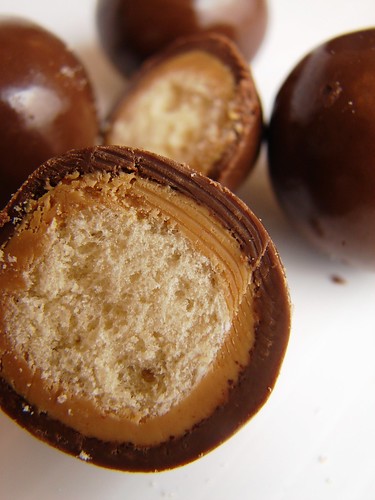 I used Carnation Malted Milk Powder, Callaebut cocoa powder, and coarsely chopped bittersweet chocolate (personally I wouldn't use a sweeter chocolate, as the cookie could get over the top sweet...unless you're into that). I cut the malt balls into halves (I didn't go any smaller, as they will disentigrate into the dough when baking). I like being able to distinguish what is added to the cookies, and you see the chocolate chunks and the melted malt balls in the cookie:


